Install OrbiAds without a terminal
Claude Desktop and claude.ai install everything by clicking — no command line. There are two ways to add OrbiAds: the plugin marketplace (the all-in-one path) or uploading the Skills one by one. Here is each, with its pros and cons.
Which Claude do you use?
The two methods at a glance
| Marketplace (plugin) | Skills (upload) | |
|---|---|---|
| What you add | One source: OrbiAds/Orbiads-GAM-MCP | Skill .zip files (1 to 7) |
| You get | Connector + Skills + commands | Skills only — tools need the connector too |
| Updates | Automatic (synced) | Manual (re-download) |
| Customization | No (overwritten on update) | Yes — edit before upload |
| Best for | Get everything, fast | Pick & tweak Skills |
Marketplace (plugin)
- All-in-one: tools + Skills + commands
- Stays synced with OrbiAds (auto-updates)
- A single source to paste
- Not customizable (overwritten on update)
- All-or-nothing bundle
Skills (upload)
- Customizable: edit each SKILL.md
- Pick only the Skills you want
- Works independently of a plugin
- Manual: download then upload each file
- No auto-update (frozen snapshot)
- Does not provide the tools — add the connector too
Add the OrbiAds marketplace
Add the marketplace once, then install the plugin. The MCP connector, the Skills and the commands all arrive together and stay synced.
Paste into « Add marketplace » → « Add from a repository »
https://github.com/OrbiAds/Orbiads-GAM-MCP- 1 Customize (left sidebar) → Plugins tab
- 2 Personal plugins → + → Add marketplace
- 3 Add from a repository → paste the identifier above
- 4 Browse plugins → Install « orbiads »
- 5 Sign in with Google when prompted — this activates the connector (OAuth)
On Claude Code (terminal)? Same marketplace: run /plugin marketplace add OrbiAds/Orbiads-GAM-MCP then /plugin install orbiads@orbiads-gam-mcp.
Upload the Skills
Download the Skills, then upload them under Personal skills. Skills are the working method — to actually run GAM operations you also need the connector (step below).
Download the Skills (GitHub)
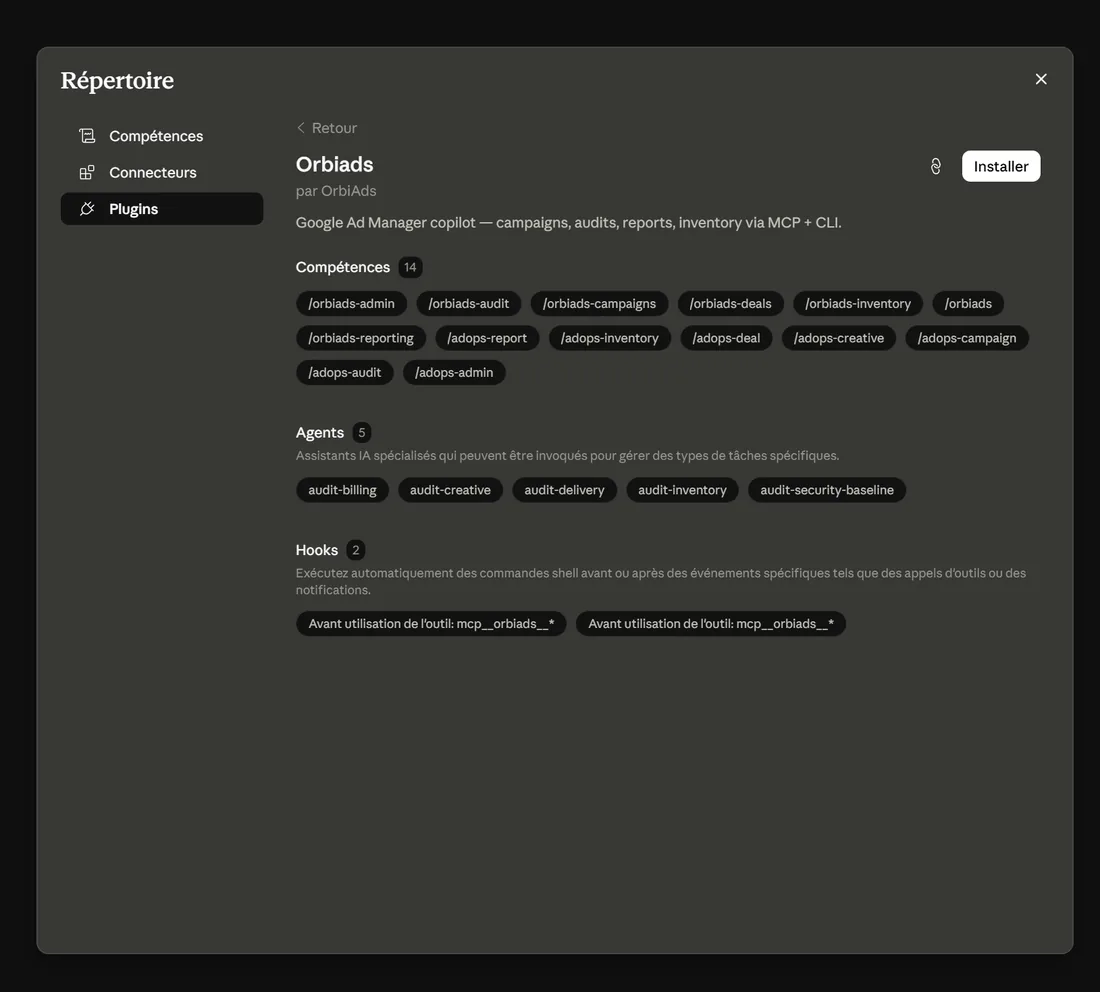
See all on GitHuborbiads Router — required: sends each request to the right Skill orbiads-campaigns Orders, line items, creatives, creative QA, placements orbiads-inventory Ad units, placements, targeting keys/values, audiences orbiads-reporting Delivery & inventory reports, forecasts, PQL orbiads-deals Programmatic deals, proposals, buyers, ADCP orbiads-audit Delivery, inventory, security & billing audits orbiads-admin Teams, sites, labels, custom fields, network settings One .zip per Skill — upload them one at a time.
- 1 Download the Skill(s) above
- 2 Customize → Skills → + → Create skill → Upload a skill
- 3 Pick a .zip, then repeat for each Skill
- 4 Add the connector below so the Skills have tools to drive
Connector URL — Customize → Connectors → + → Add custom connector:
https://orbiads.com/mcp Connector configuration 
Customization tips
- Edit SKILL.md: the description = when the Skill triggers; the body = the working method.
- Keep the folder name identical to the name in the frontmatter.
- Leave references/actions.md as is (generated catalogue) unless you know what you are doing.
- Customizing means losing auto-sync — keep a note of your changes.